Elastic Audio is one of those things that can often get us into more trouble than we bargained for. Recently I was asked to bolster a sequenced drum line with some real life drums, here’s the easy way to do it.
Step 1
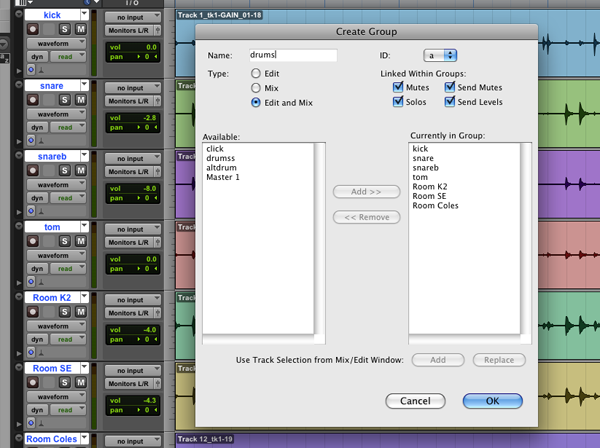
First create a group out of your drums, select each of the drum tracks while holding down the shift key. Now press command+G to bring up the group window
Press OK and we are on to Step 2
Step 2
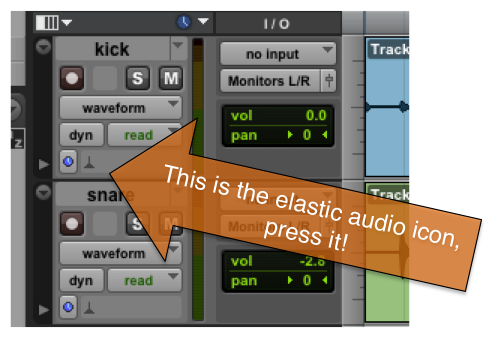
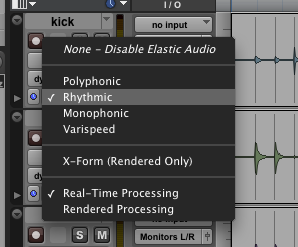
Select an elastic audio plugin algorithm.
I have chosen “Rhythmic” as this is drums and therefore transient, precisely what the rhythmic algorithm was created for. Once selected it will place the elastic audio plugin on each of the tracks in your drum group.
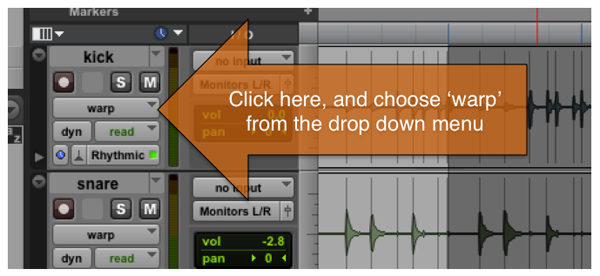
Your tracks will now be analysed. While you are waiting for this to happen put your tracks into “warp” view.
Step 3
Find a loop. I have chosen bars 5-7. This seems relatively tight and will offer the least resistance! Ensure that loop playback is selected and have a listen to your selection to ensure it loops appropriately.
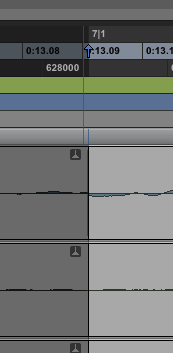
Separate your loop (command+E). Now zoom right into the end of your loop and ensure that it is finishing on the start of the next bar, in my case bar 7. If it isn”t grab your “time compression/expansion” tool and drag the end till it snaps to the bar line. Ensure Grid mode is selected for this.
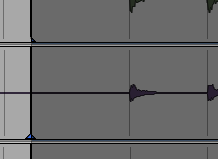
Now we need to apply warp markers to the start and end of the loop. Do this by right clicking inside your selected loop (on any track) and select “add warp marker”.
This will ensure that it is only this section of audio that we are affecting.
Step 4
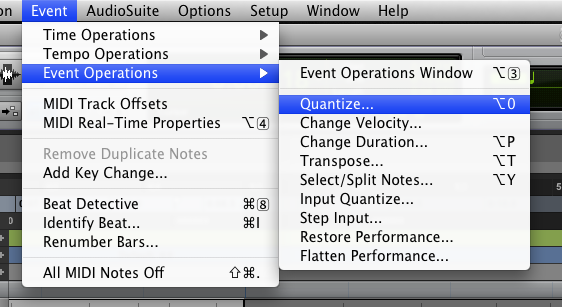
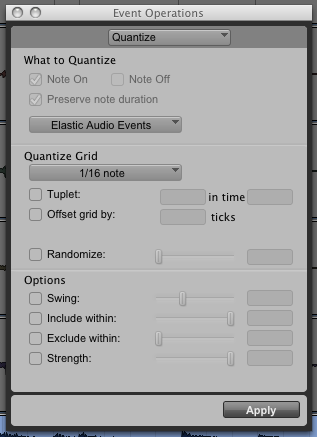
Now with your loop still selected, go to the event window and choose “Quantize” from the Event operations tab.
The event operations window will pop up, select the desired quantizing parameters and click apply. I have chosen 16th notes to suit the 16th note kick drum.
Original Source here

